Building accessibility adaptation for people with limited mobility means bringing entrances, interior spaces and the surrounding area to a condition that anyone can use: a wheelchair user, a person with a cane, someone with a stroller, or a visitor with a visual or hearing impairment. A barrier-free environment is no longer an "optional extra" but a basic expectation for public, retail, medical and administrative buildings. Below, in plain language, we look at which zones get checked, what accessibility requirements apply, and how to draft a step-by-step plan for moving toward a barrier-free environment.
What building adaptation means
Adaptation refers to a set of solutions that removes the physical and informational barriers along a person's entire journey — from the parking area and entrance group to the destination room and restroom. It matters to assess the continuous route rather than isolated elements: there is little point in installing a ramp if a high threshold or a narrow corridor waits just beyond the door. Current accessibility norms treat a building precisely as a connected chain of zones.
Which zones to check
When inspecting a building, attention focuses on five key zones:
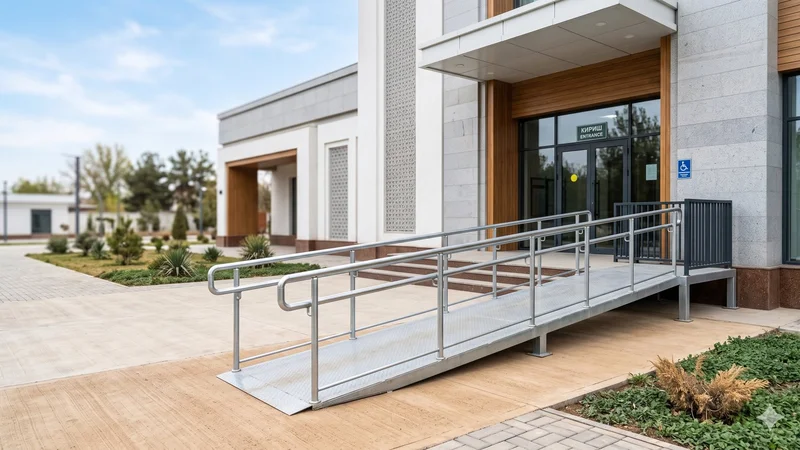
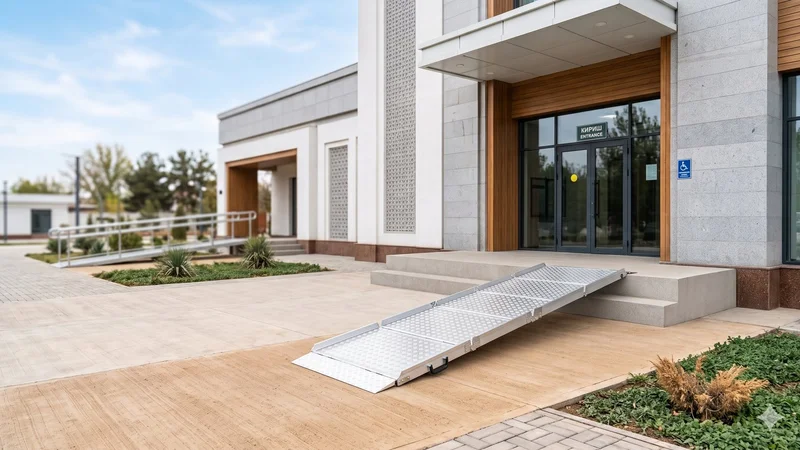
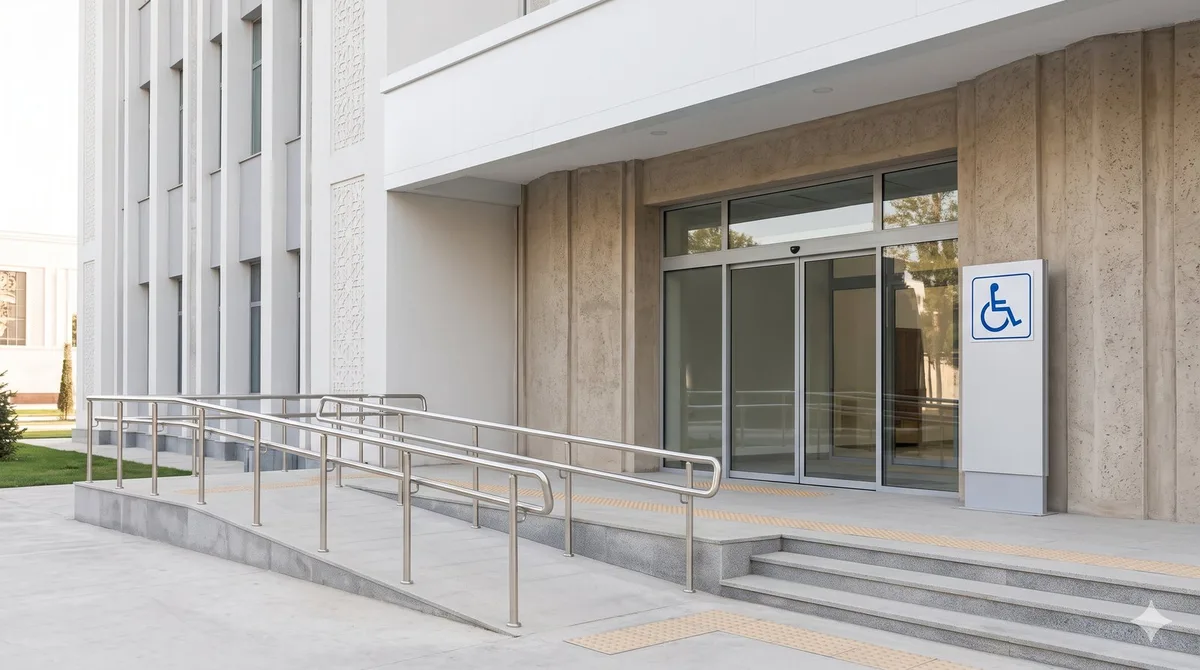
- Entrance and entrance group — ramp or lift, changes in level, door width, thresholds, canopy, handrails.
- Internal circulation routes — corridor width, no steps along the route, wheelchair turning space, elevators, tactile guides.
- Restroom — an accessible cubicle with turning space, support rails and conveniently placed fixtures.
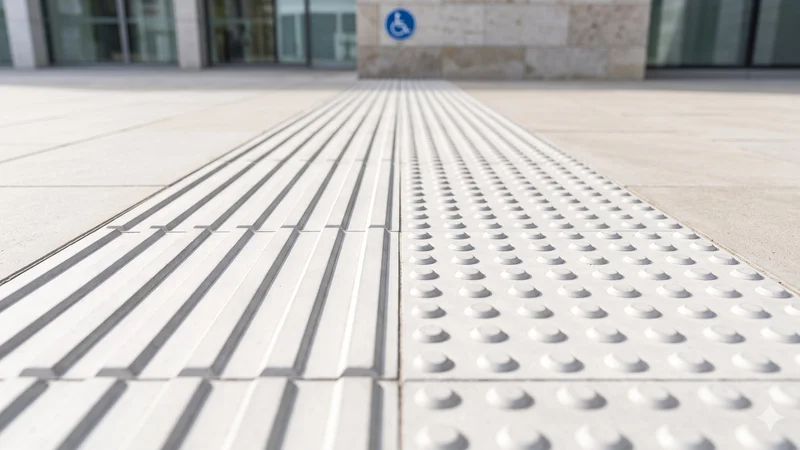
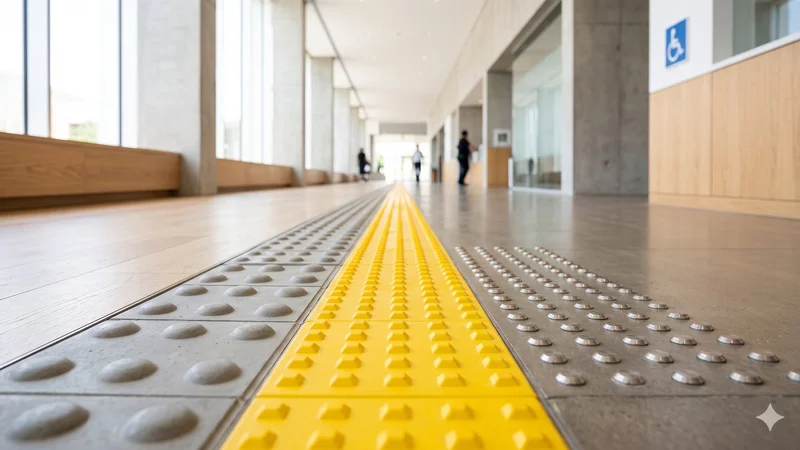
- Wayfinding — clear signage, contrasting markings, tactile plates and warning strips.
- Parking — designated spaces near the entrance, with markings and a sign.
Core accessibility requirements
Accessibility requirements for people with limited mobility come down to a few principles that are easy to verify on site:
- A ramp's slope should be gentle and safe, and the ramp itself should have handrails and a non-slip surface.
- Door and passage widths should let a wheelchair pass freely.
- Changes in level and thresholds are minimised or smoothed out.
- Handrails are fitted on both sides wherever there is a rise or a staircase.
- For people with visual impairments, tactile paving, contrasting elements and clear wayfinding are needed.
The specific values for slopes, widths and heights are set out in the applicable accessibility norms — during design they are implemented with the requirements of those norms in mind for each type of building.
How to run an accessibility audit
An audit means inspecting the building "through the eyes of a visitor with limitations." A practical approach is to:
- Walk the entire route from the parking area to the destination room and restroom, noting every barrier.
- Measure slopes, passage widths and threshold heights, and compare them against the requirements.
- Photograph problem spots and compile a list of non-compliances.
- Sort the findings into critical (those that prevent entry to the building) and secondary.
A step-by-step adaptation plan
It is rarely possible to bring a building up to standard all at once, so the work is broken into stages by priority:
- Stage 1. Secure access itself: the entrance, ramp, entrance doors and parking space.
- Stage 2. Set up internal circulation routes and an accessible restroom.
- Stage 3. Install wayfinding, tactile elements and contrasting markings.
- Stage 4. Refine the details and check the whole route end to end.
This approach lets you spread the budget over time while quickly removing the most serious barriers.
Common mistakes
- A ramp with too steep a slope that cannot be used independently.
- An accessible entrance, but an inaccessible restroom or narrow internal passages.
- No handrails and no non-slip surface.
- A parking space far from the entrance or without markings.
- Wayfinding with no contrast and no tactile elements for people with low vision.
Frequently asked questions
Where should building adaptation start? With an audit and securing basic access — the entrance group, ramp and parking. These are the most critical zones of a barrier-free environment.
Can a building be adapted in stages? Yes. The work is split into stages by priority, starting with the entrance and ending with wayfinding and details, spreading the budget over time.
Which matters more — the ramp or the restroom? The whole route matters. You first need to get into the building, so work begins at the entrance, but without an accessible restroom and passages the adaptation stays unfinished.
Need help with adaptation?
We can help you run an accessibility audit and choose equipment for every zone — from ramps and handrails to tactile wayfinding. Get a free consultation and explore ready-made solutions in our accessible environment equipment catalog.